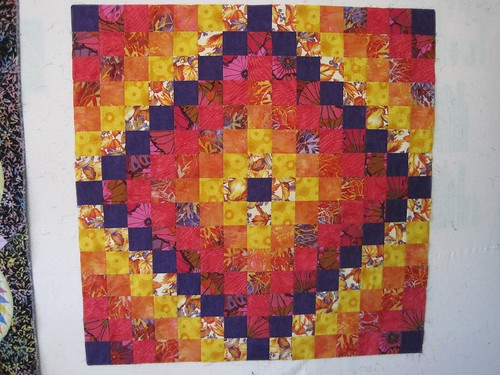
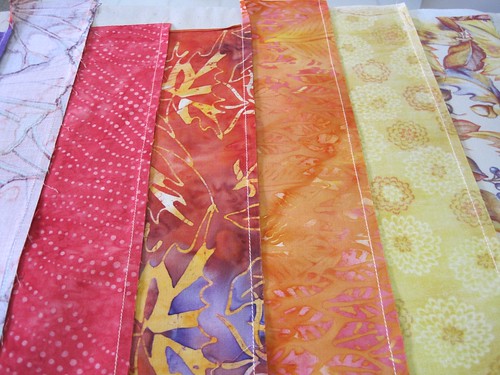
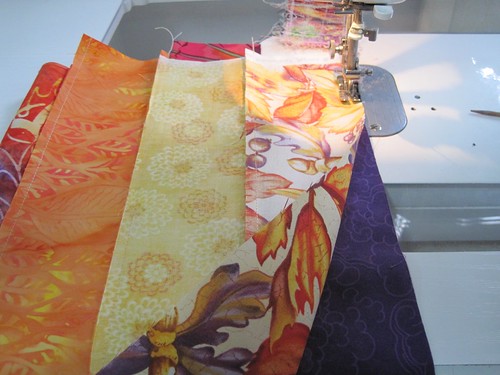
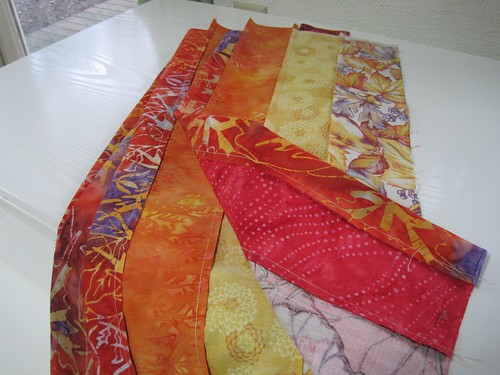
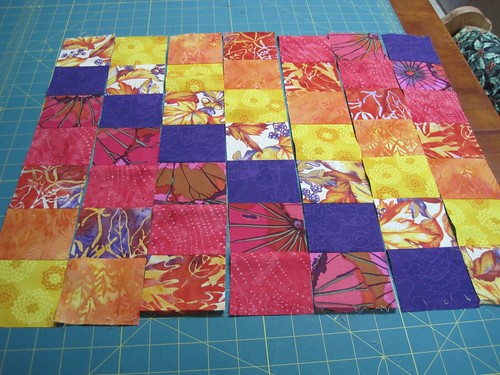
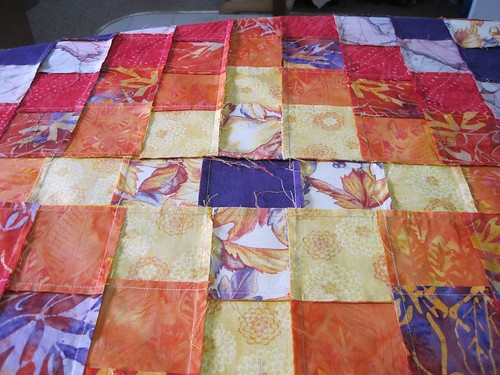
This tutorial is for a little table topper or baby quilt that finishes to 39.5″ square or so. The great news is that you can still use a little over a yard (a yard and a quarter) as a back since the dimensions don’t go over the 44″ wide fabric. More good news: the quilt top can be sewn together in an afternoon since you don’t need to cut out each square individually. Instead, we’ll be working with strips that are sewn together into strata and then into tubes. And yes, I call this the squid-ring method, and you’ll see why soon enough :).
If you click on any of the pics, you’ll go to the flickr photo album for the tutorial; I’ll just pull out a few key ones here.
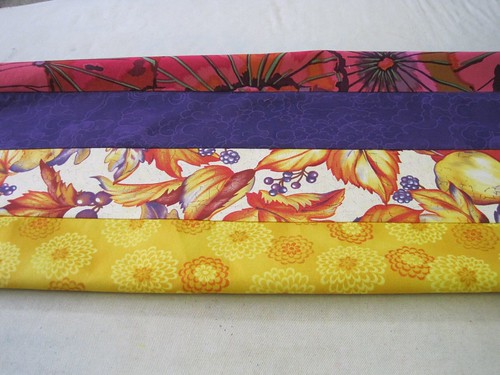
You’ll need 7 fat quarters for this little quilt. You can color grade them as I did above or pick more contrasting fabrics that will give you something of a checkerboard look, like the original vintage quilt that inspired this smaller version:
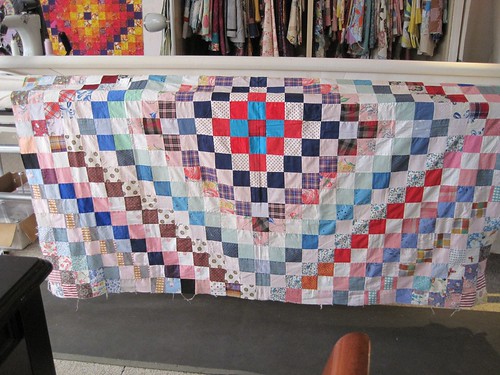
a vintage trip around the world quilt top sewn with scrappy fabrics in a light/dark high contrast arrangement
The squares in this vintage quilt are 2.5″ finished, and I quite liked the results, so that’s the size I stuck with for the smaller version. It means we’ll be cutting 3-inch strips to begin with. With your 7 fat quarters, check to see if they are at least 18″ wide. Some quarters are cut so tight to size that they’re just shy of 18″, or maybe they’re cut or torn with a diagonal edge. In any case, if the quarters are big enough, you’ll get six 3-inch strips from each of the quarters. If they’re too small, you’ll only get five 3-inch strips. That’s all right; the quilt top will only need the five 3-inch strips (of each color). But that’s ONLY if the other dimension of the fat quarter is AT LEAST 21″. If it’s less than 21″ you’ll need six 3-inch strips of each color.
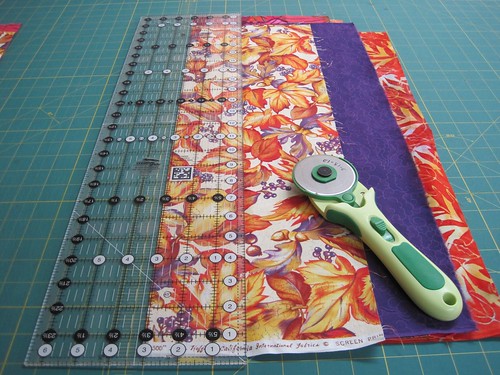
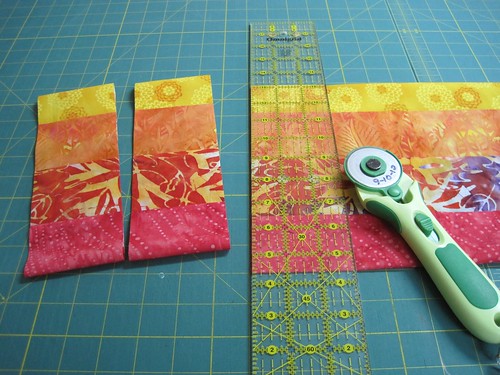
You can cut the strips from each color individually or from the stack of seven fat quarters — I cut from the stack but use a bigger (60 mm) rotary cutter when I am cutting through several layers of fabric at once. I only took the picture above after I’d already cut half the fat quarter so that’s why they look kinda skinny.
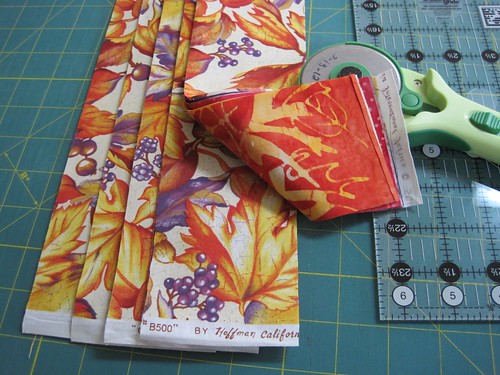
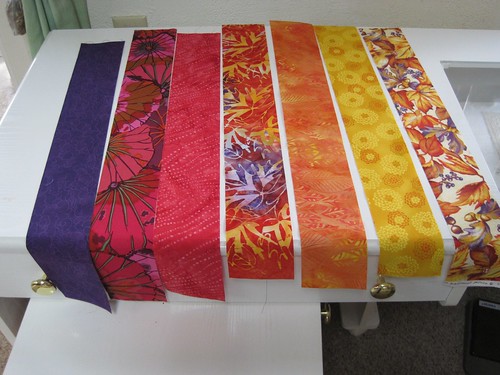
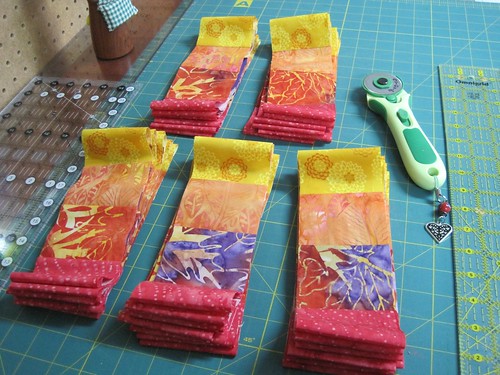
stack of 3-inch strips cut from seven fat quarters; each stack here has seven fabrics in it (top and bottom fabrics visible)
Remember that if your fabrics are less than 21″ in the longer dimension you’ll need six stacks of seven strips rather than five. (and to do that your fat quarters have to be at least 18″ in the shorter dimension). Arrange the fabrics to your liking and then sew each stack into a panel, using quarter inch seams.
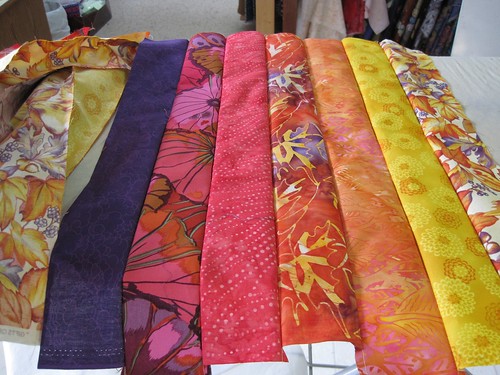
Sew each stack of strips together in panels, or strata sets as they’re sometimes called. Then press two of the sets with their seams in one direction — toward the lights for example — and three of the sets with their seams in the opposite direction (in this case toward the darks). I love to starch at this point, too, because later on we’re going to cross-cut these panels and the starch will stabilize them.
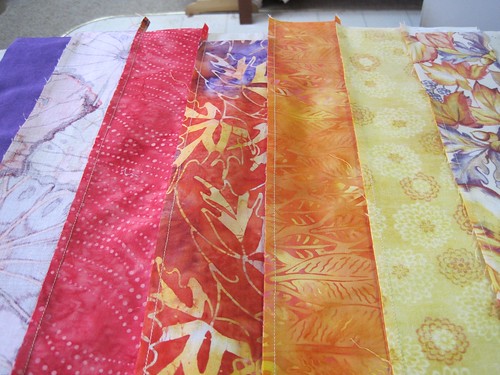
press the seams on three of the panels toward the darks (opposite direction from the first two panels)
Then sew each of the panels together into a tube by sewing the first strip to the last, right sides together, with a quarter inch seam. I know it sounds a little wacky but it really will save us time later.
Then rotate the tube and press the seam you just finished in the same direction as the other seams of that panel. And then turn the tubes inside out — it makes it easier to cross-cut.
Then comes the interesting bit — cross-cutting the tubes into 3-inch rings. The squid rings!
If your tubes are smaller than 21″ long, you’ll get six rings per tube. If the tubes are 21″ or longer, you’ll get seven rings per tube, as I did in this example.
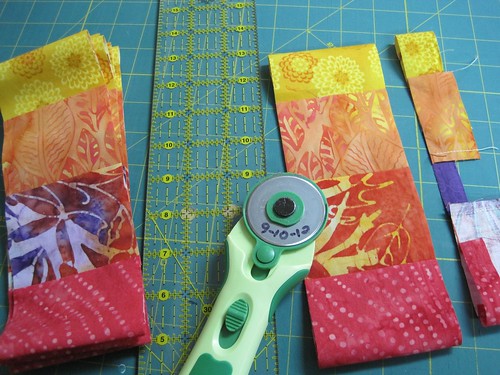
if the tubes are at least 21″ long, you’ll get seven cross-cut rings from each tube panel, and have a tiny smidge leftover
Then you’ll have five stacks of seven rings (35 total), or six stacks of six rings each (36 total) if you’ve cut them differently. In any case, you’ll need 33 rings for the pattern I’ve worked out and used here.
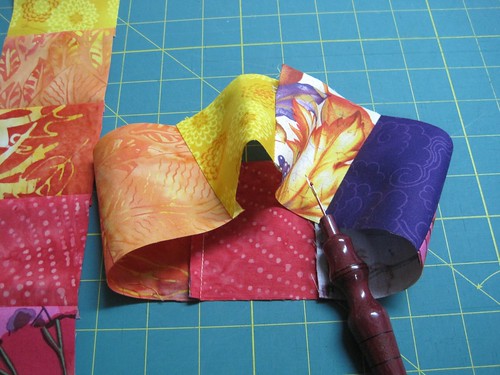
Next, we’ll be removing the stitching from one seam at a time, to open out the rings into strips again. There’s seven colors sewn into the tube, so there’s seven seams to open, one seam for each strip.
Open the seams in order, from the first color to the second, to the third, etc. Then lay them out next to each other so the colors progress in a stair-step.
Construct two uphill blocks of seven strips each and two downhill blocks of seven strips each. Alternate strips between panels that were pressed toward the dark and light so that when you sew the strips of each block together the seams will nest.
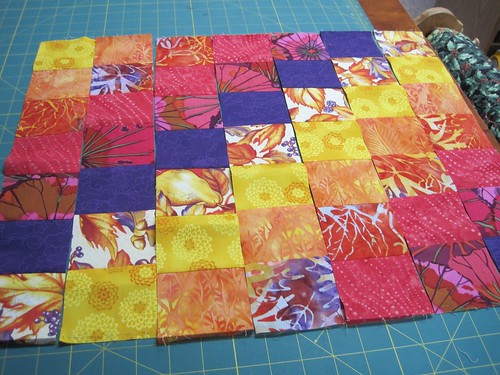
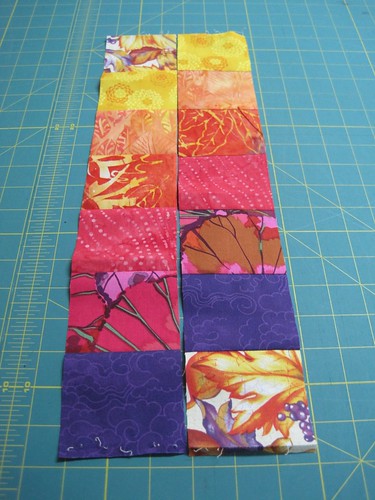
open out the seven strips in turn, and then arrange in an uphill stair-step for two blocks, and a downhill stair-step for two blocks (uphill shown here)
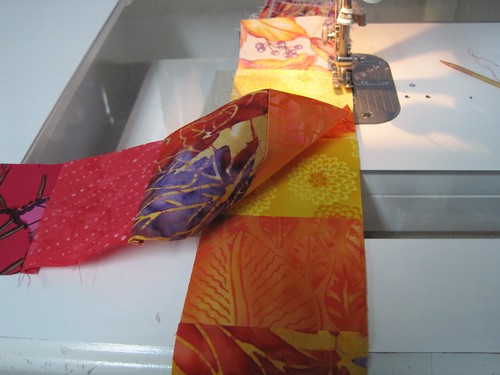
alternate strips from the pressed-dark and the pressed-light stacks so that the seams nest properly when constructing the blocks, using quarter-inch seams
Assemble the blocks with quarter-inch seams, adjusting the fit at each seam intersection until the seams nest properly. (See the seam nesting tips if you’re unfamiliar with this technique)
Then take the uphill and downhill blocks, and lay them out like this, and add center strips and a center piece. I’ve only shown three blocks here, but you can see how the rest is laid out.
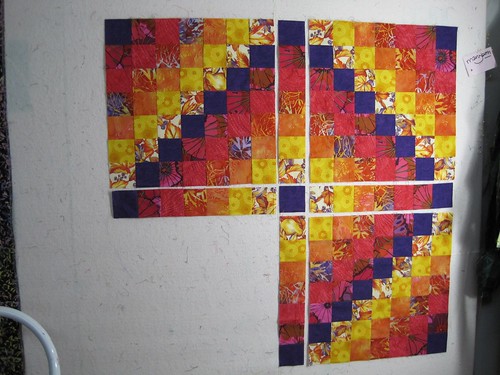
three finished blocks and additional center strips to fill out the rest of the trip around the world pattern
If as you sew the blocks you press toward the center of the quilt, then the center strips (all identical), drawn from the pressed toward the dark pile, should nest into the blocks, because they’ll be pressed in the opposite direction.
Ta da! You’re almost done with your little quilt top. I topsitch, with a fairly big stitch, around the edge at about 1/8″ inch in, to secure each seam, and prevent raveling as you handle your quilt.
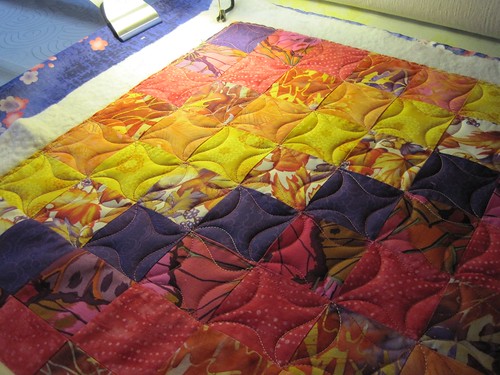
You could quilt it by sewing diagonal lines through each block, a simple pattern easy enough on your home machine. But since I have a longarm, I quilted mine with a Terry Twist style pattern (invented by Sally Terry). Here it is in process:
More pictures of the finished and bound quilt to come!
If you make a quilt with this tutorial, be sure to send me a picture, and I’ll start a gallery full of awesomeness. Happy sewing all!

