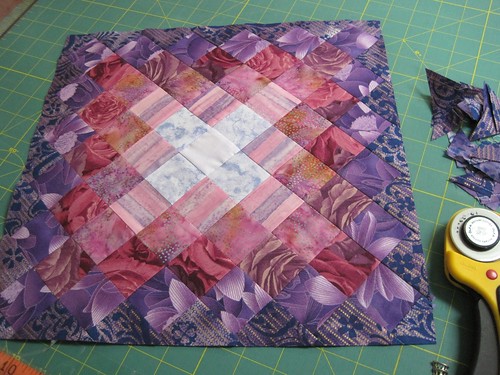
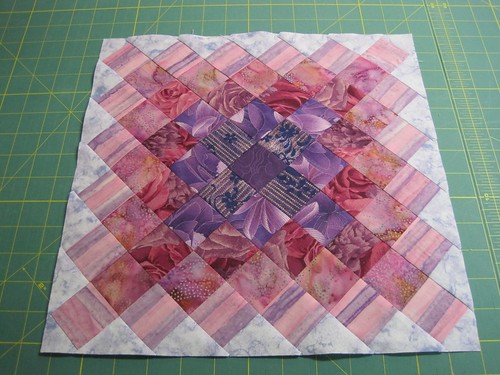
I’ve always loved bargello style quilts, including trip around the world. Sometimes, though, with strip piecing techniques you have a lot of weird little leftovers and portions of strips. While piecing a bargello quilt with particularly odd leftovers I came up with the idea of these block pairs which I call innie/outie blocks. The great news is that the leftovers of strip piecing from the one block make up the other block and you’ll be left with practically no odd little leftovers in the process.
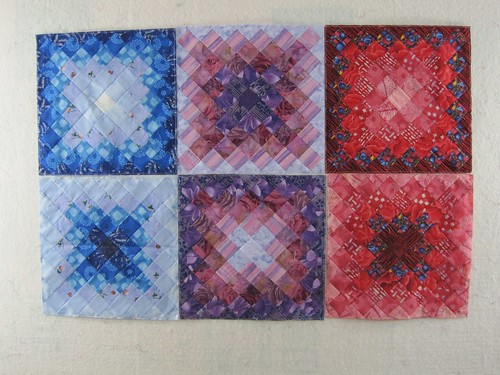
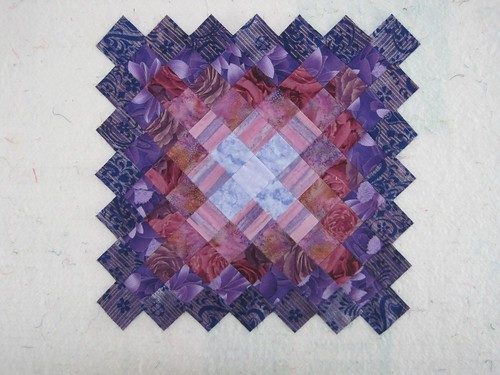
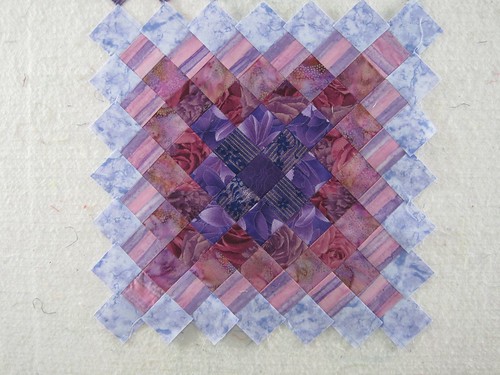
Here’s three sets of the blocks made up with 2″ strips (cut) and 8 colors:
These particular blocks finish at 13.25″, a bit of an awkward size, but big enough to make a quilt top go pretty fast. You could use the technique with any strip size and just about any amount of colors, but you may have to do your own math — or experiment — to see how big your finished blocks will be.
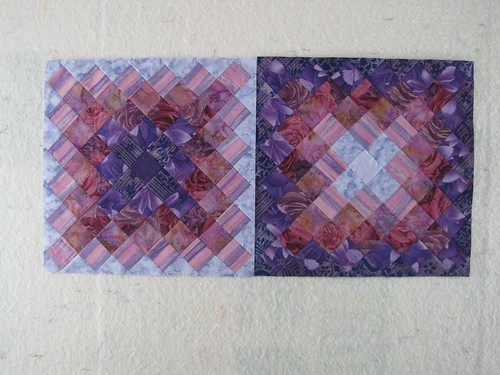
The nice thing about graduating the colors from light to dark, and vice versa, is that one of the block pairs will finish with a light edge, and one with a dark. Then you can alternate the blocks on a quilt top and the edges will have enough contrast to make each block visible, without sashing. Unless you love sashing and then you can liberally add your favorite amount of sashing.
I’ve already posted this tutorial with the usual too many pictures on flickr, and if you click the picture above it will take you to the flickr album filled with innie/outie block pictures. I’ll just highlight a few here.
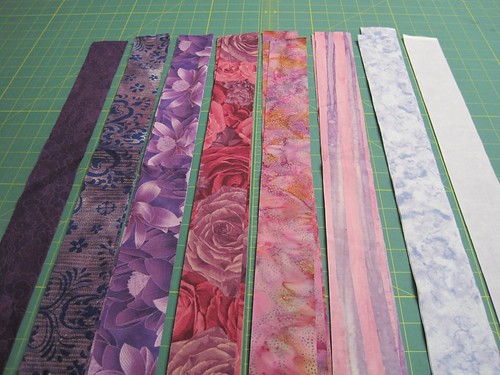
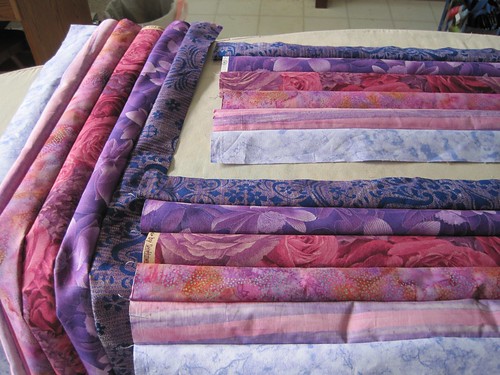
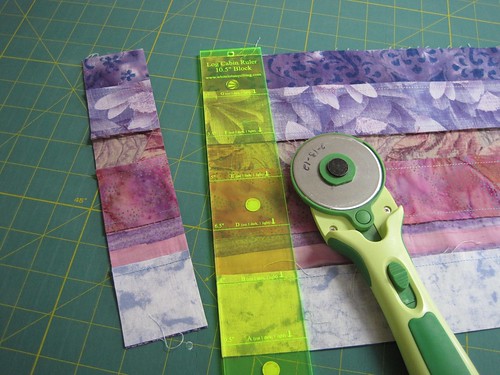
If you choose 8 colors as I did for these example blocks, you’ll need very little of colors 1 and 8, only a single 2″ square. You can cut a 2″ strip for them but you won’t use very much. The middle 6 colors you will use 3 strips (2″ cut) that are 21-22″ long (half the width of a normal 45″ wide fabric). As in most strip piecing, you sew the middle 6 color strips together with normal 1/4″ quilt piecing seams, into 3 panels (one for each strip).
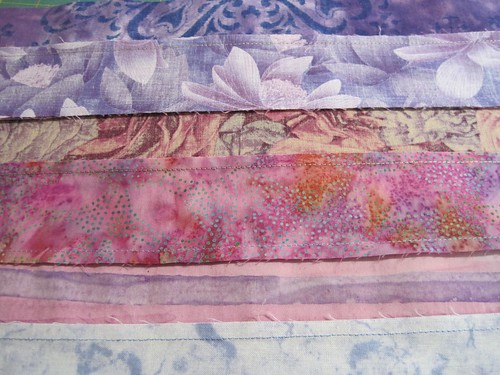
The great news is that because there is an even number of colors, you can press the seams alternately on each panel, rather than having to press all the seams one way on one panel and oppositely on another. Either technique works to build in seam nesting for the intersections, but I think pressing alternately is easier. Here’s what the panels look like on the back after pressing:
Next, the panels are cross-cut into strips the same width as the original cut strips (in this case, 2″). You should get at least 10 cross-cuts from each panel, giving you a total of 30 cross-cuts. You will need 28, plus the two center blocks (one color #1 square and one color #8 square), and will have 2 leftover cross-cuts, barring any accidents or mistakes. I don’t know about you but I never make those :).
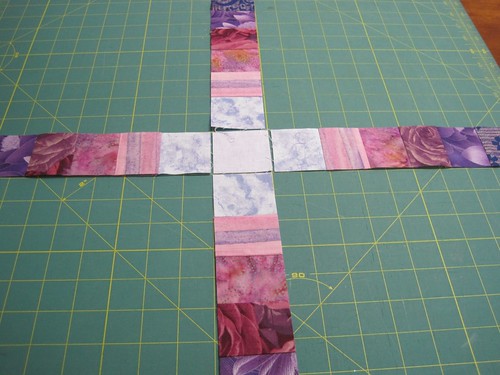
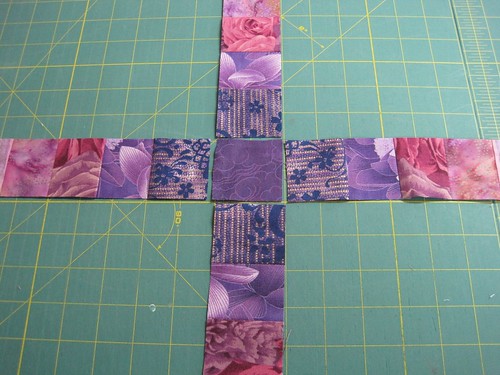
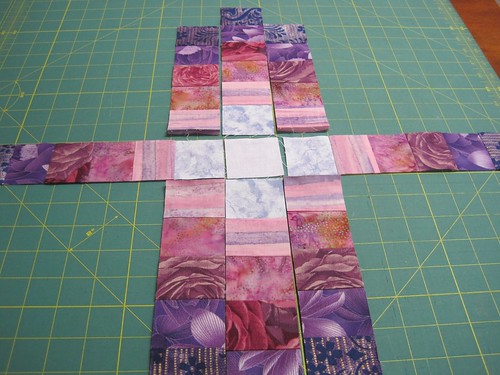
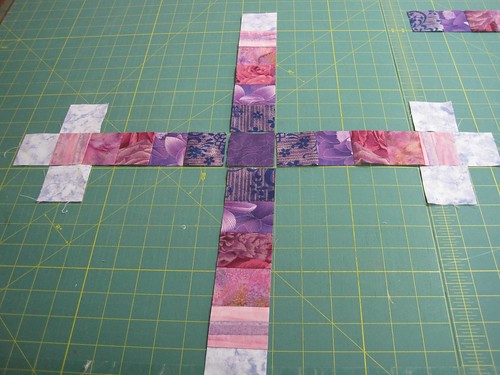
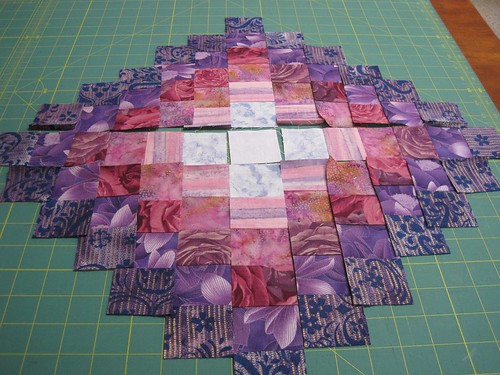
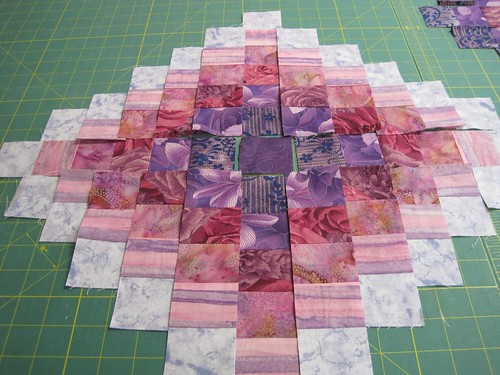
Then you can start to build out the blocks. For the light center (innie), start with the light color square (color #8 in the second photo above) and build out 4 spokes using cross-cuts turned light side in. For the dark center (outie), start with the dark color square (color #1) and arrange 4 spokes using cross-cuts turned dark side in.
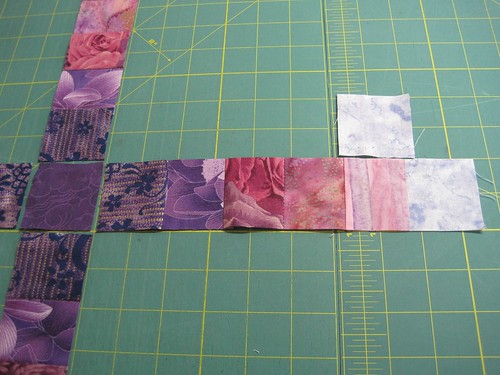
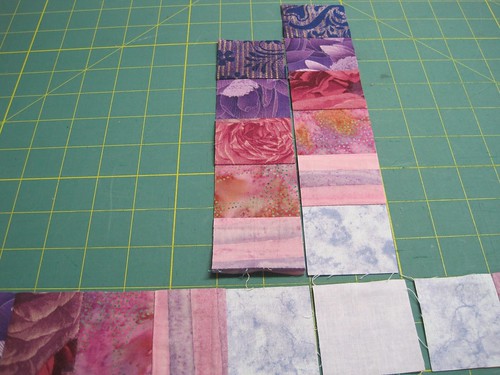
Next, take a cross-cut and rip the seam between colors #1 and #2. The color #1 square left on its lonesome as a result looks a bit orphaned, but it belongs to the dark center square, on the outside. The rest of the cross-cut strip will go on the inside of the light center square. It’s probably easier to see in pictures than to add more words about it!
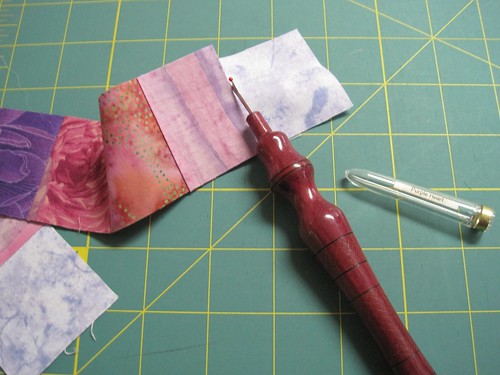
ripping out the seam between colors #2 and #3, which will yield a color #2 square and a partial cross-cut strip of colors #3. #4, #5, #6, and #7
For each seam, you’ll need to dissemble 4 cross-cuts, portions of which will go in each of the pair of blocks.
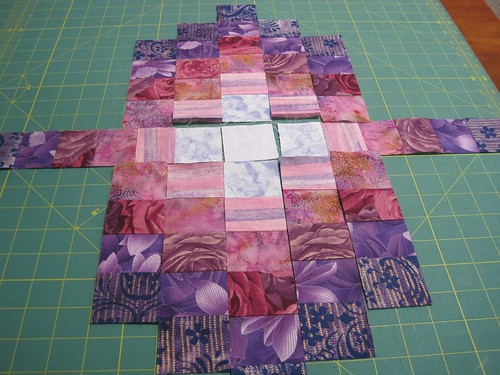
You’ll be doing this for each of the 5 seams between the 6 colors of the cross-cuts. The dark center block gets built from the outside in, and the light center block gets built from the inside out.
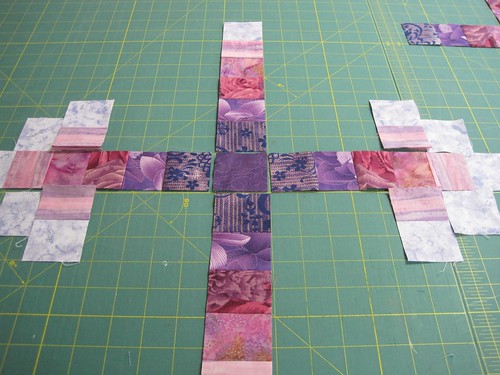
second set of partial cross-cuts placed on the outside of the dark center block, building inwards toward the center
Isn’t that cool? As you dissemble the cross-cuts to make up the components for one block, the leftovers make up the components of the second, its mirrored twin. After completing this process for all 5 seams of the cross-cuts, here’s what the blocks look like before and after sewing:
After sewing (details in the flickr tutorial), I trim the corners off to make the block square. It will finish somewhere about 13.25″ square or so.
The finished pair of blocks look great together! Use them as part of a scrappy quilt top or as pillows, or a table runner, or anything else you can imagine!

