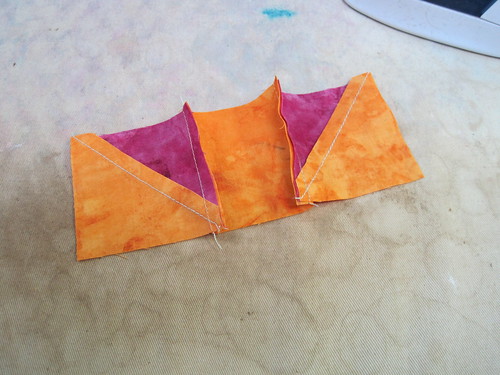
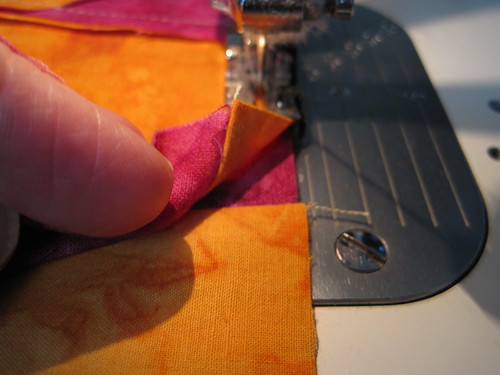
Okay, so now’s the time to air my dirty little secret: I rarely sew with pins. I don’t like how they distort the fabric and I especially don’t like how they stab my fingers. I guess I’m a sensitive little flower :). Also with pins I can’t feel how the seams fit into each other and since I’m coming from weaving and spinning my fingers are pretty responsive to small changes in thickness.
But I love to get my squares and points to match beautifully in my piecing — so how do I do it? I ‘nest’ the seams at any junction whenever I have the chance. By nesting the seams they’ll lock together like plastic locking building toys.
Here’s a tutorial on flickr that I did for nested seams on a little nine-patch block. The ideas and techniques are the same, whether you’re using it on a block or for rows and columns of quilt blocks. Every time you can nest seams you’ll get a better match of your squares and points.
The most important bits are to be sure that at each seam junction, the seam allowances should be pressed in opposite directions. Maybe you can see that in the close up:
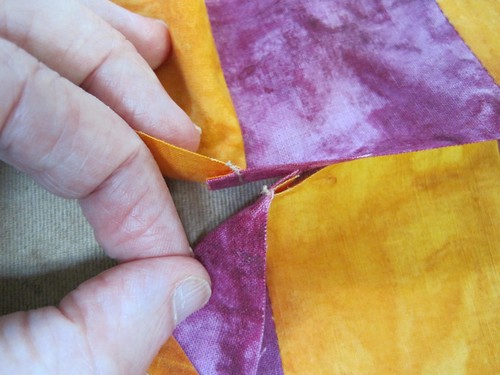
on the upper row of this block, the seam allowance is pressed toward the orange, and in the opposite direction on the lower row (but also toward the orange)
When sewing these two together, use a quarter-inch seam, and wiggle the layers a bit as you go to fit the humps of the two seams together — you should be able to feel when the top and bottom fit exactly into each other.
The nested seams will not only fit together better, but will reduce seam allowance bulk and help the finished block lay flatter. Here’s the finished block from the back, so you can see where the seam allowances lie:
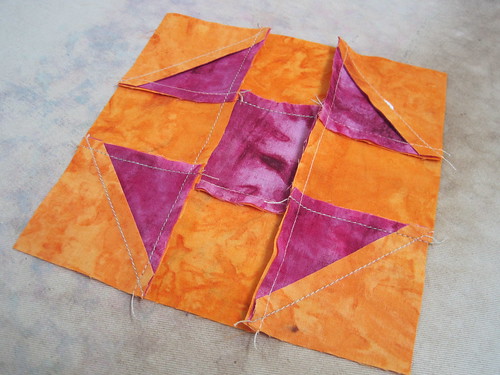
nested seams on the back of the block — look carefully to see them laying in both directions on the rows
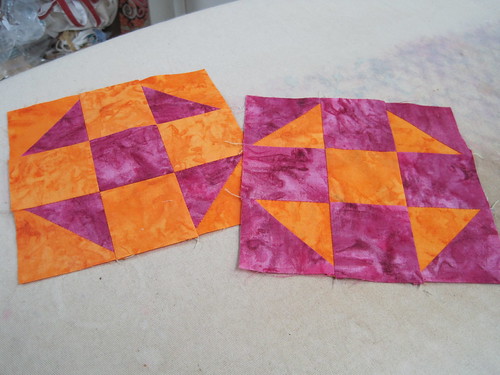
And here’s a set of finished blocks, and you can see the corners of the squares look well-matched:
Hope this helps you fit your quilt atoms very well together!

